Residential Leak Detection
On a home, the priorities are a clear answer and a house that is left in the condition we found it — with any access made deliberately and in the smallest useful place.
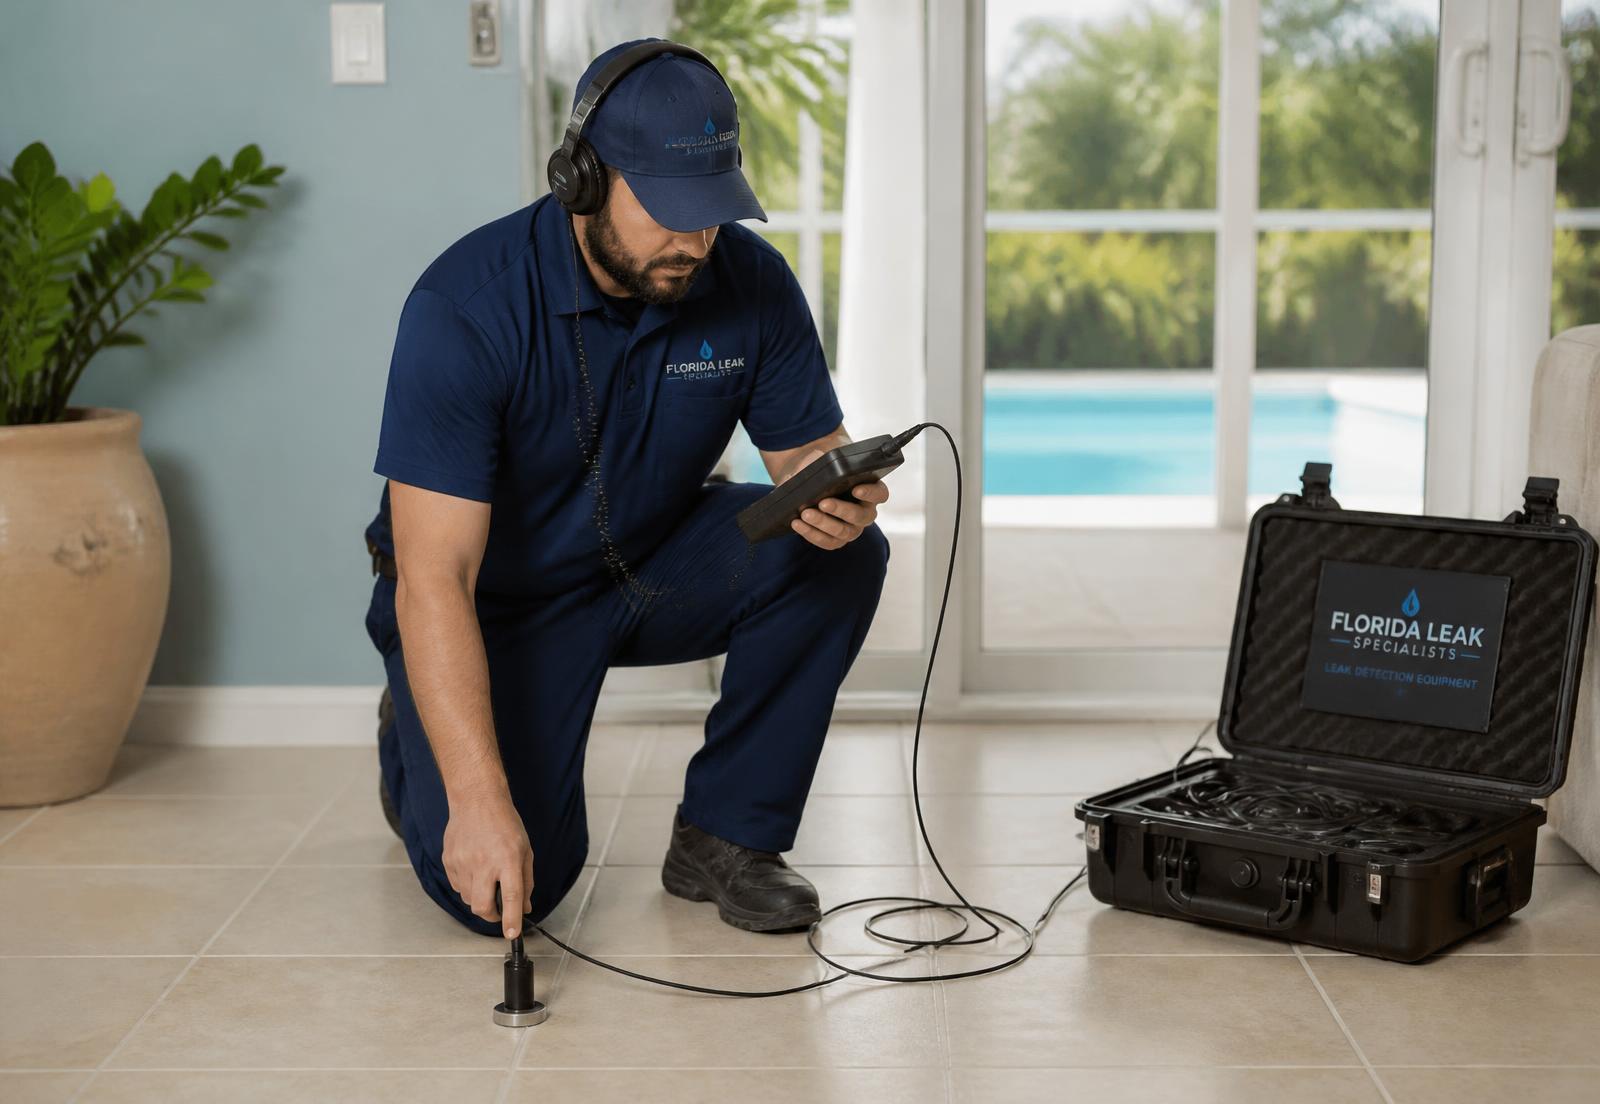
What the Visit Involves
- 1
Walkthrough
You show us the symptoms and what you have already noticed. We ask about age of construction, past repairs and recent changes.
- 2
Meter and fixture testing
Confirming loss, then eliminating toilets, valves, appliances and irrigation before anything structural is suspected.
- 3
Survey of the suspect area
Moisture mapping, listening and thermal scanning across floors, walls or ceilings as the symptoms dictate.
- 4
Findings walkthrough
We show you what was located, what the readings mean, and what access would be needed to reach it.
Condos, Townhomes and Shared Walls
Attached housing adds a wrinkle: the leak may not be on your side of the wall, and responsibility may sit with an association. Establishing which unit's plumbing is losing water — and documenting it clearly — often matters as much as the location itself.
What You Get at the End
A marked location where one has been established, an explanation of the reasoning, and a plain statement of anything that remains uncertain. If the evidence supports two possibilities, we say that rather than picking one for the sake of a tidier answer.
Not sure where the water is coming from?
Describe what you are seeing and we can explain how the investigation would be approached on your property.
Related Pages
For the wider picture, see our overview of leak detection services in Tampa.